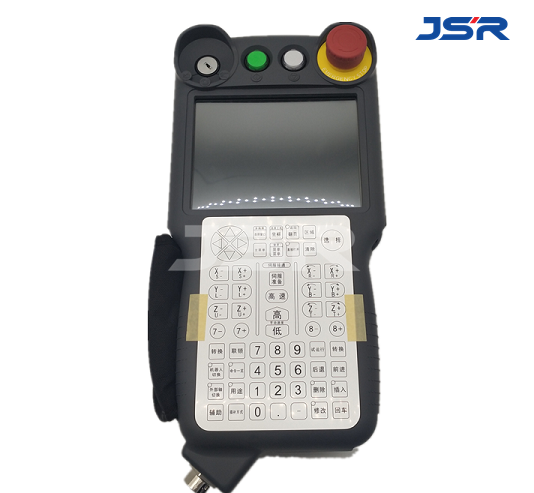
Among the four major robotic families, Yaskawa robots are renowned for their lightweight and ergonomic teach pendants, particularly the newly developed teach pendants designed for the YRC1000 and YRC1000micro control cabinets.DX200 Teach PendantYRC1000/micro Teach Pendant,Practical Functions of Yaskawa Teach Pendants:
Function One: Temporary Communication Interruption.
This function allows users to temporarily interrupt communication between the control cabinet and the teach pendant while operating the teach pendant. However, this function can only be used when the teach pendant is in remote mode. The specific operation steps are as follows:Switch the teach pendant mode to “Remote Mode” by turning the key on the top left to the leftmost position.Long-press the “Simple Menu” button on the teach pendant’s bottom bar.A pop-up window with “Communication Disconnected” will appear in the menu.Click “OK,” and the teach pendant will display the startup screen, indicating that it is now in a communication-interrupted state. At this point, the teach pendant operation keys are disabled. (To restore communication, simply click on the “connect to YRC1000″ pop-up as shown in the picture.)
Function Two: Reset.
This function allows for a simple restart of the teach pendant when the control cabinet is powered on. When communication issues with the teach pendant result in the robot being unable to execute motion commands, you can perform a teach pendant restart using the following method. Open the protective cover of the SD card slot at the back of the teach pendant. Inside, there is a small hole. Use a pin to press the button inside the small hole to initiate the teach pendant restart.
Function Three: Touchscreen Deactivation.
This function deactivates the touchscreen, making it impossible to operate even by touching it. Only the buttons on the teach pendant panel remain active. By setting the touchscreen to be inactive, this feature prevents potential issues caused by accidental touchscreen interactions, even if the touchscreen malfunctions. The operation steps are as follows:Simultaneously press “Interlock” + “Assist” to display the confirmation screen.Use the “←” button on the panel to move the cursor to “Yes,” then press the “Select” button to activate the function.PS: To re-enable the touchscreen functionality on the teach pendant screen, simultaneously press “Interlock” + “Assist” again to bring up the confirmation window. Use the “←” button on the panel to move the cursor to “Yes,” then press the “Select” button to activate this function.
Function Four: Robot System Restart.
This function is used to restart the robot when significant parameter changes, board replacements, external axis configurations, or maintenance and upkeep operations require a robot restart. To do this, simply follow these steps to avoid the need to physically restart the control cabinet using the switch:Click “System Information” followed by “CPU Reset.”In the pop-up dialog, there will be a “Reset” button in the bottom left corner.Choose “Yes” to restart the robot.
Post time: Sep-19-2023

